So I’m late starting my blog, but did keep somewhat of a record of the early progress (start at bottom & read up):
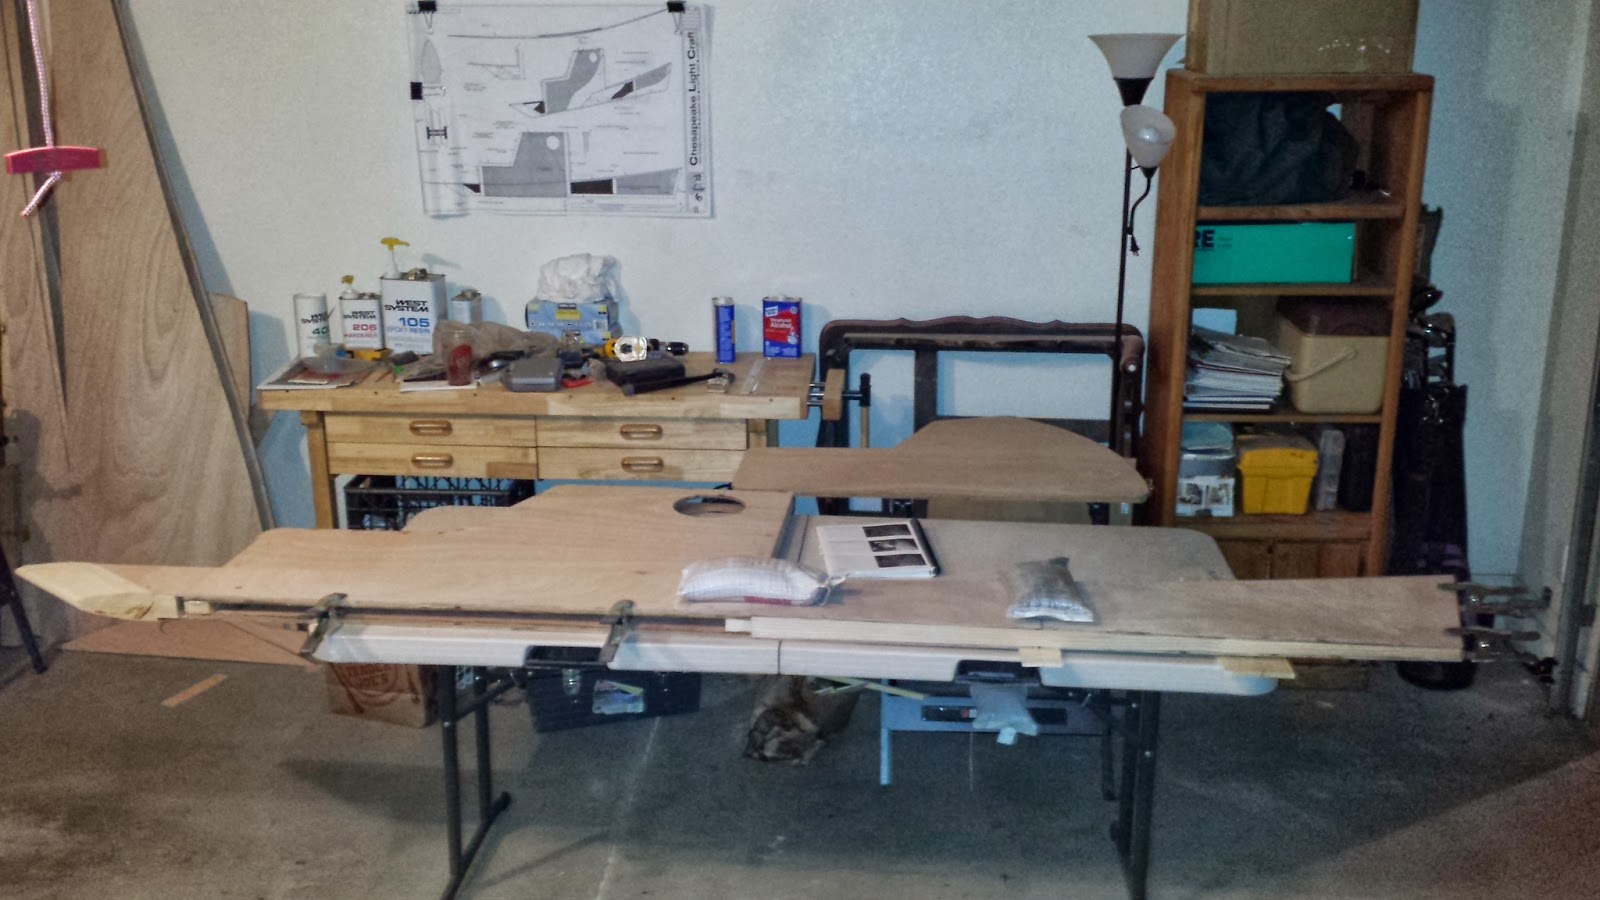
1/17: 1-wk cure on planks stress-test: passed! But there are gaps on the outside. Fairing will be needed.
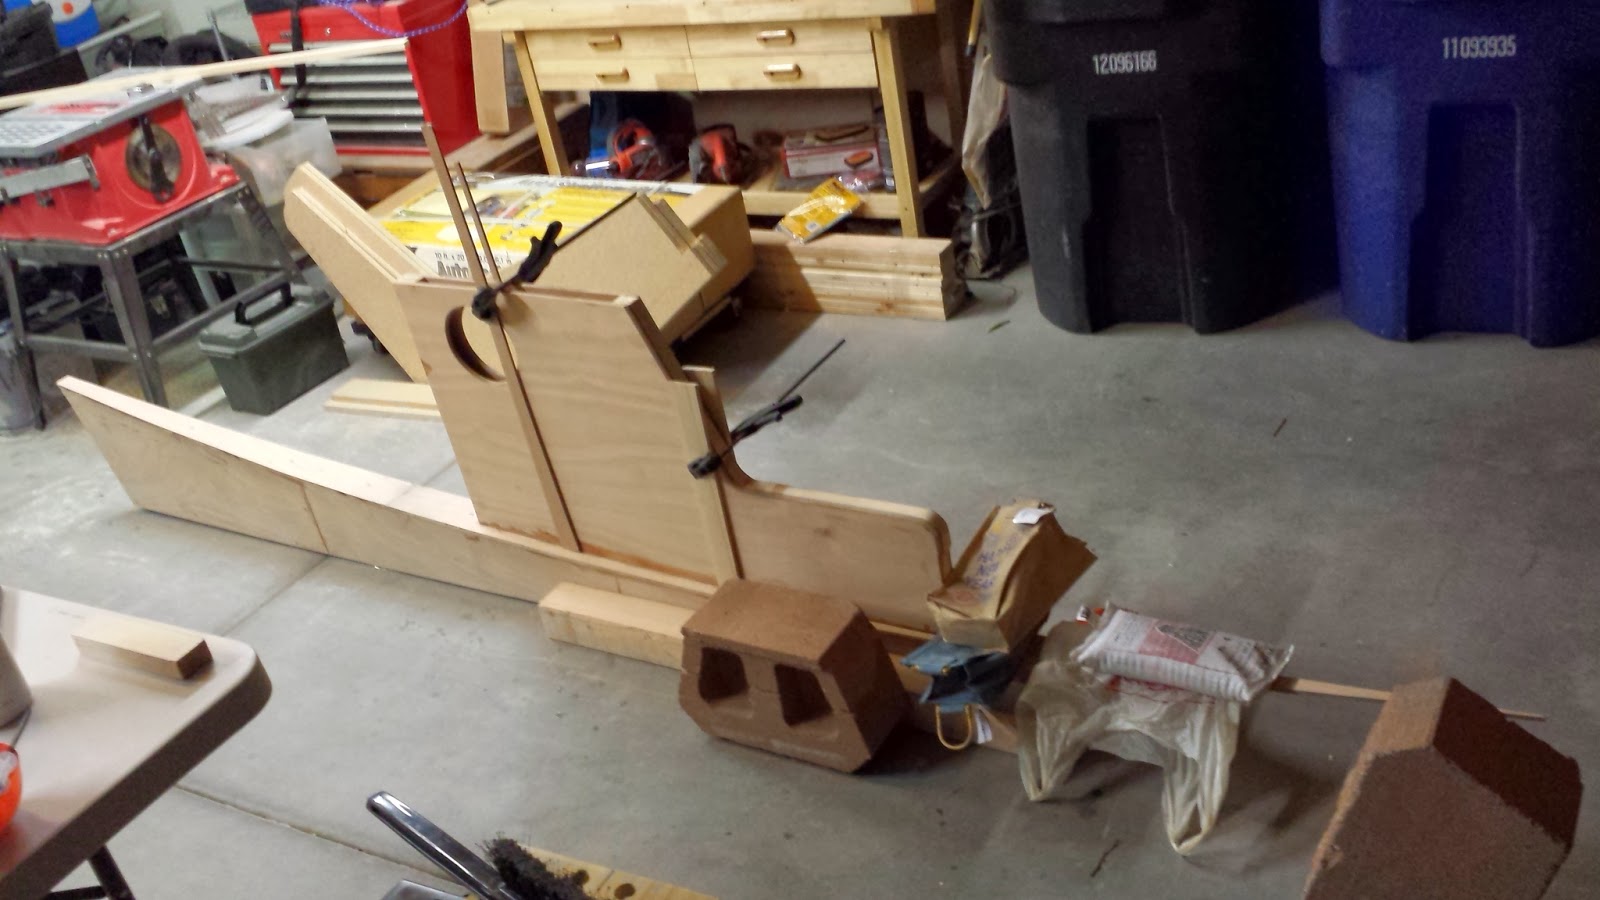
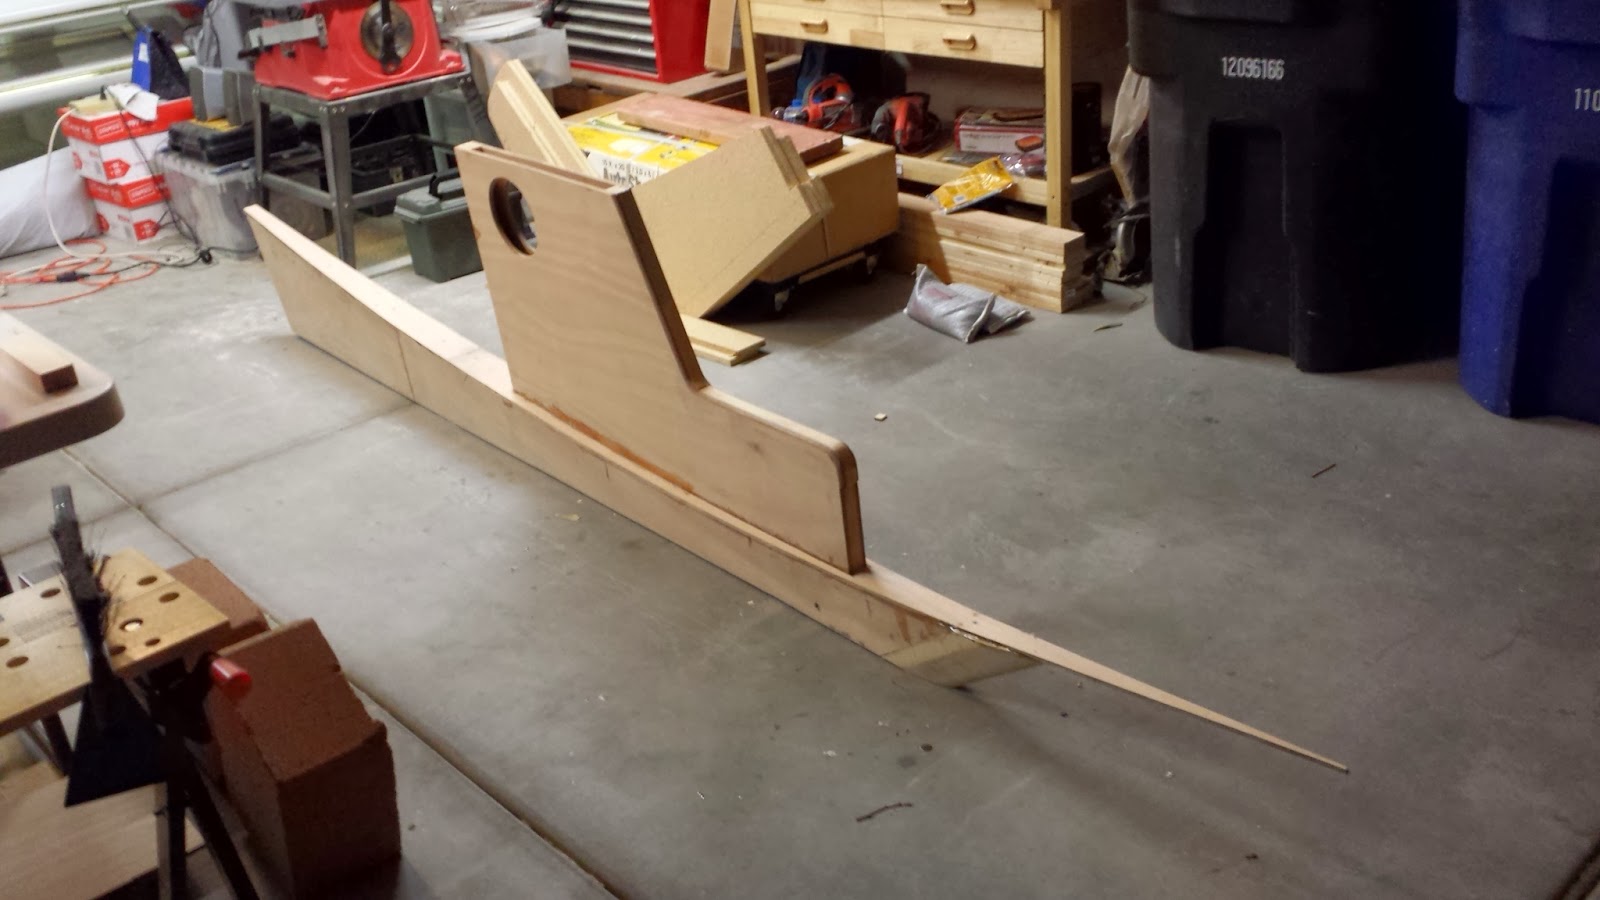
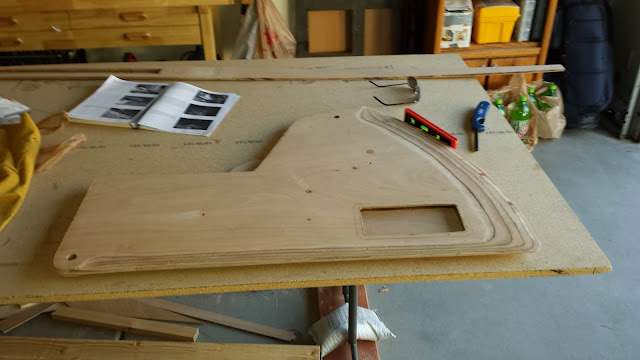
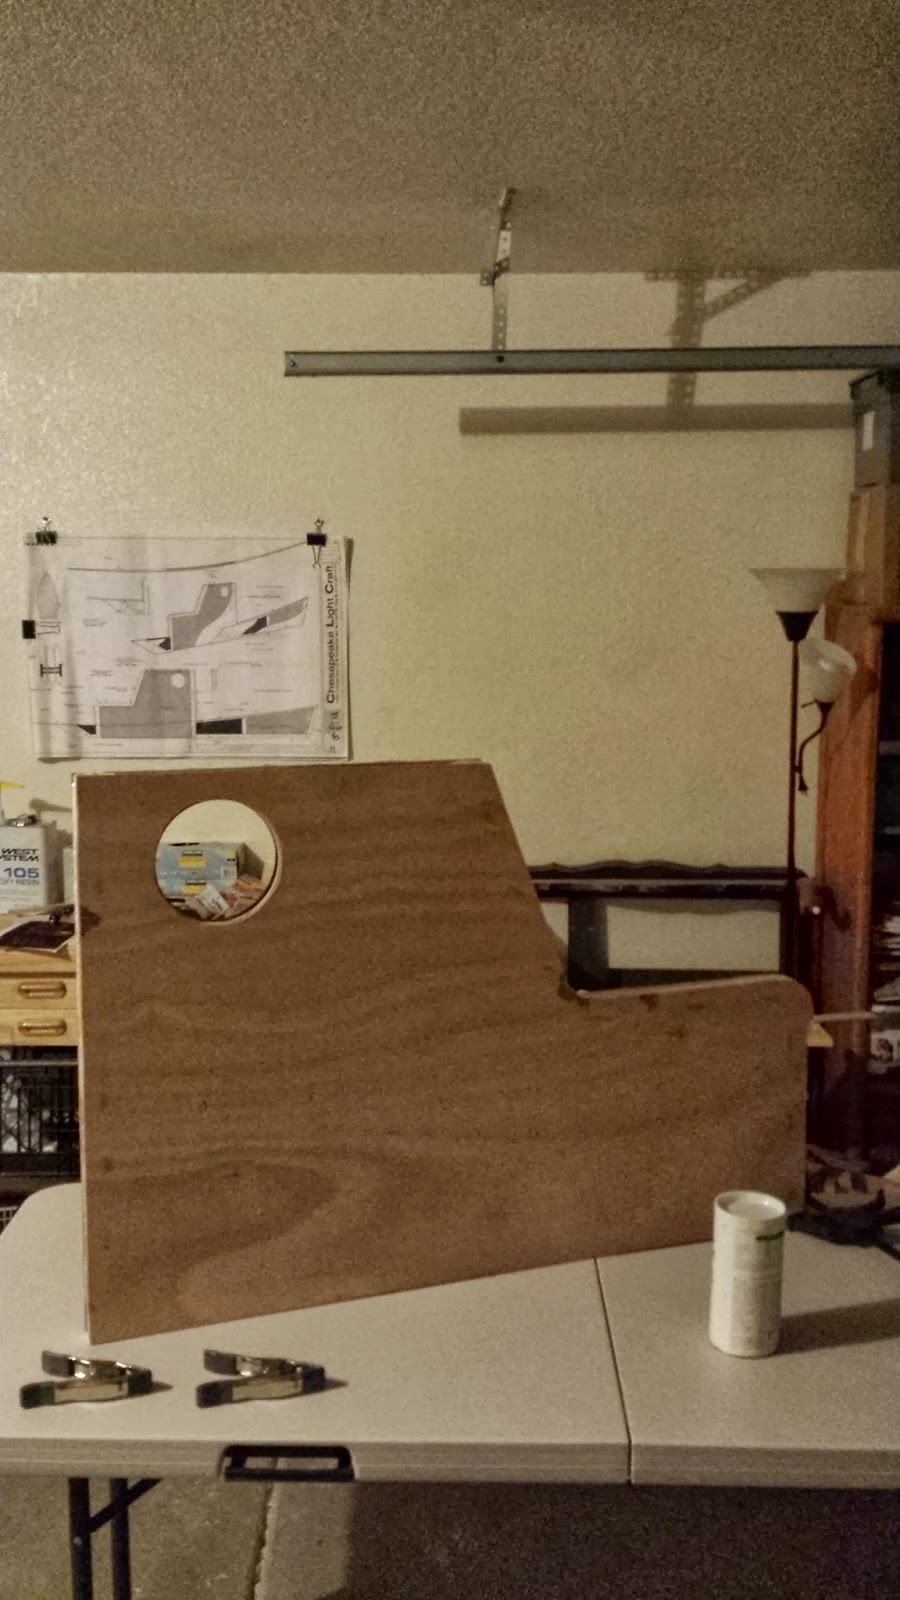
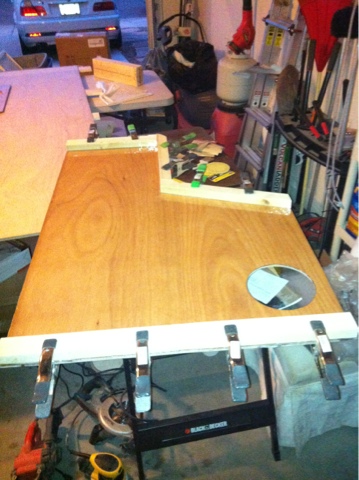
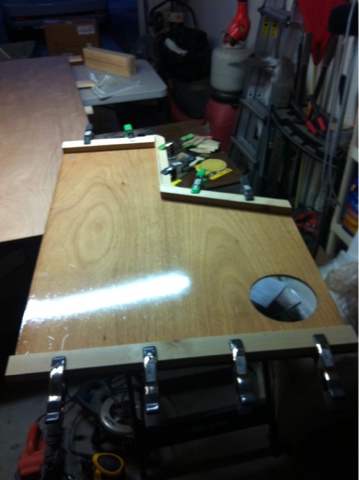
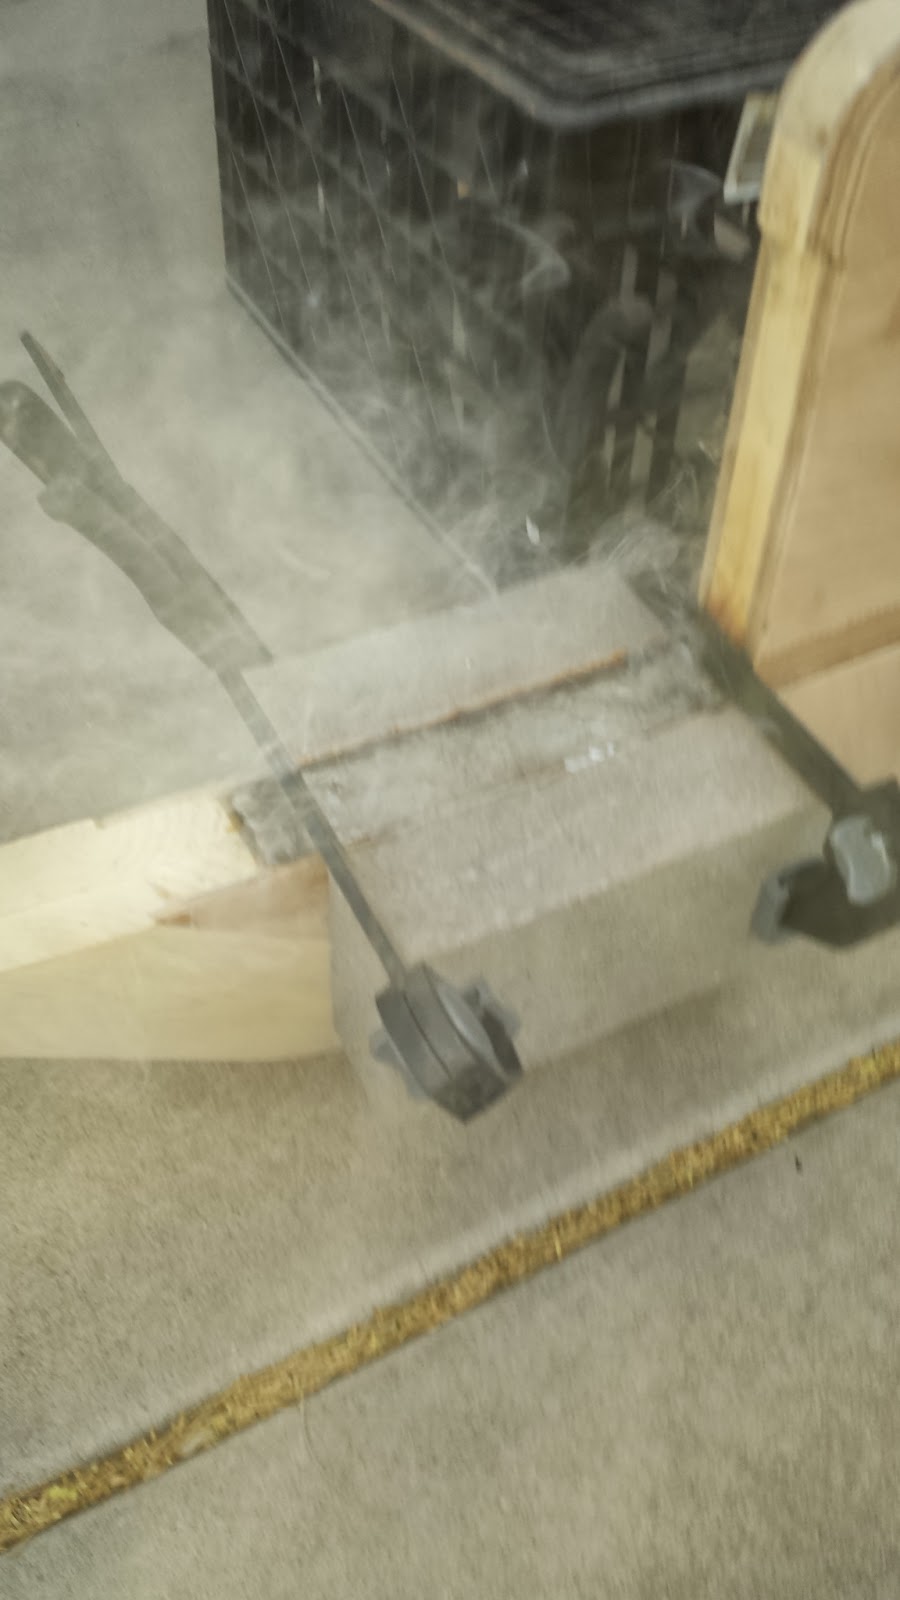
1/16: hole cutter arrived. Cut beautiful/perfect holes in trunk. It’s art compared to the crap I cut the first time.
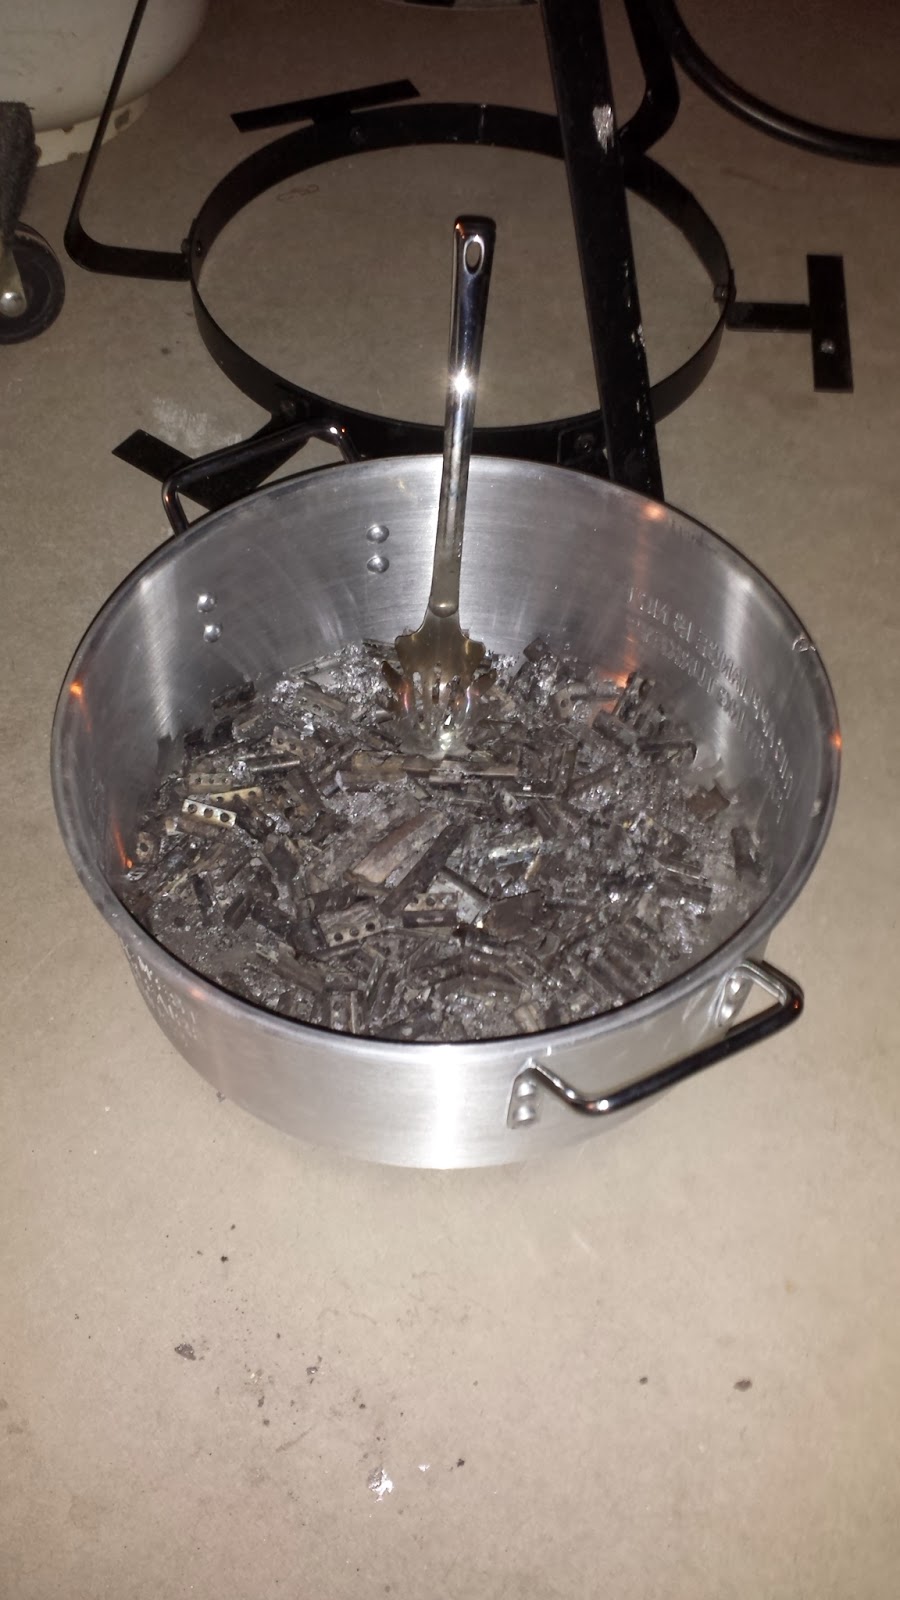
1/15: ordered cast-iron kettle from Ace: $19. Every place else was around $40. Ace is the place.
1/14: more dagger/trunk prep. Found/ordered circle cutter from Hole Pro (very expensive, but worth it to me to cut nice holes. This project will have a few).
1/13: cut dagger/trunk. I cut lousy circles. They really look retarded. Need circle cutter.
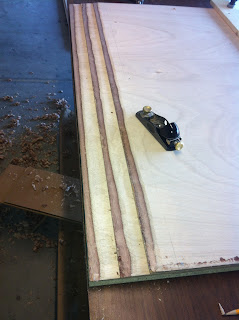 |
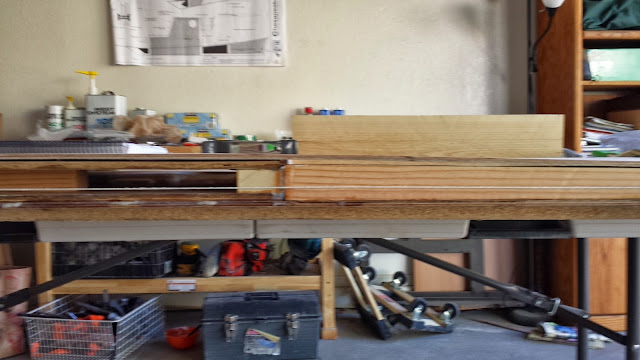
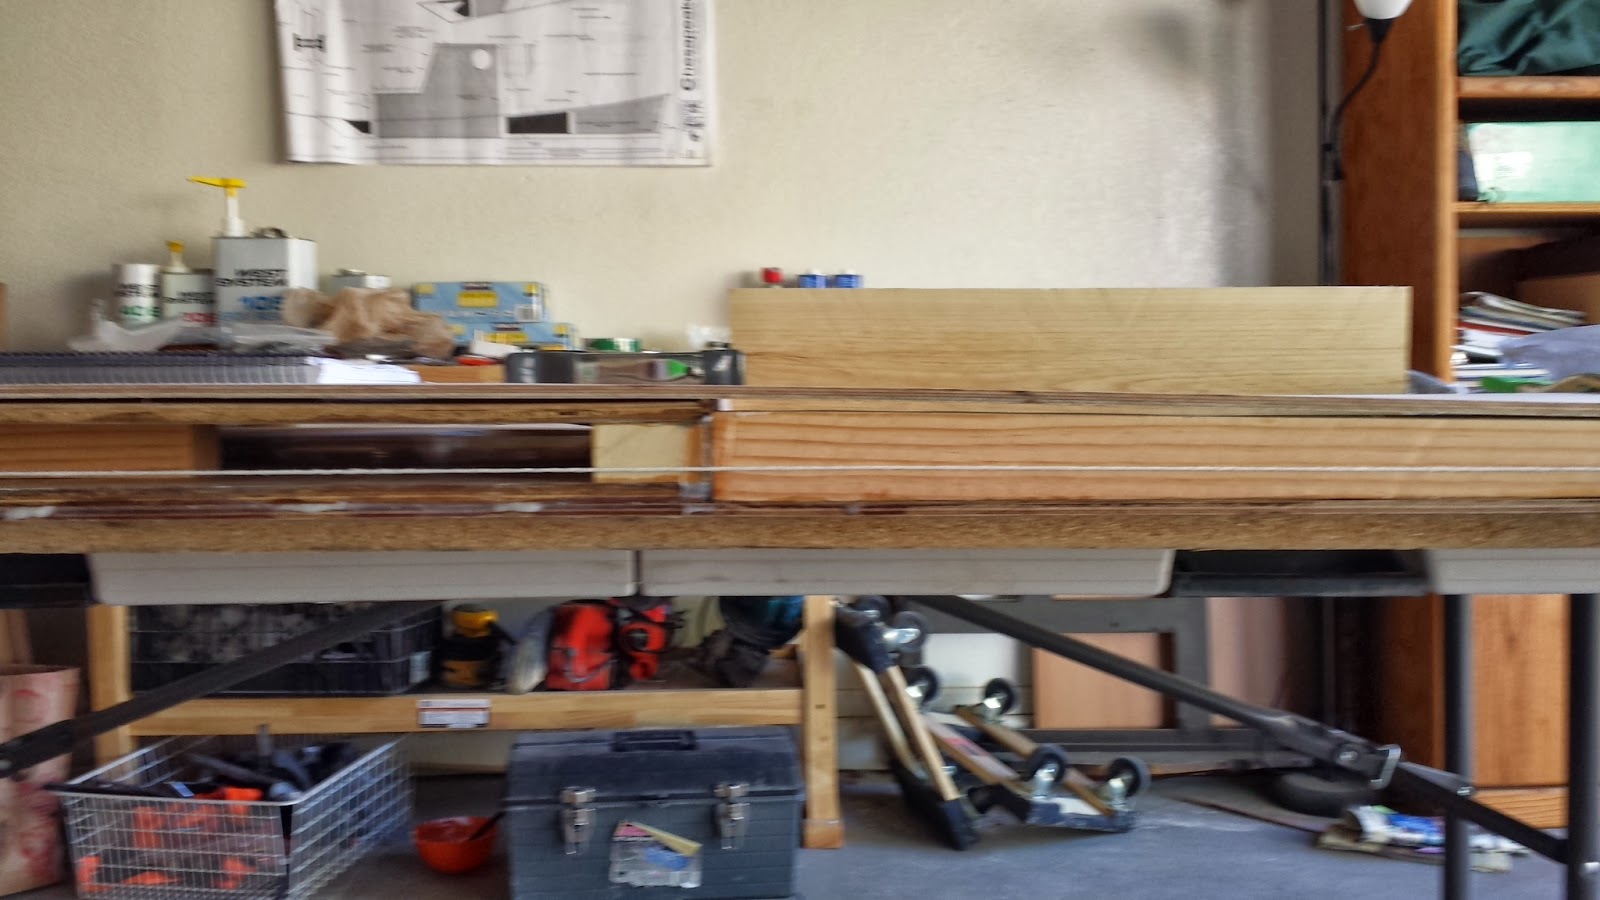
| First scarf cuts. |
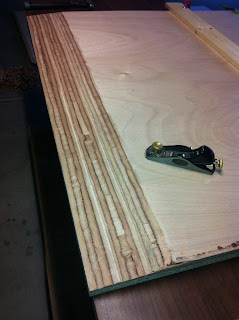 |
| Final scarf cuts. Next: epoxy bonding. |
12/27: cut first scarfs. Cutting scarfs is nerve-racking because the concern is fouling up expensive material and buying more and starting over. But I took my time and it came out pretty good.
12/26: bought 2 oil-filled radiator heaters for Boat Yard. Getting cold up in here in Arizona-town.
12/20: exchanged bad shop light and bought ply for cradle.
12/19: added shop lights
 |
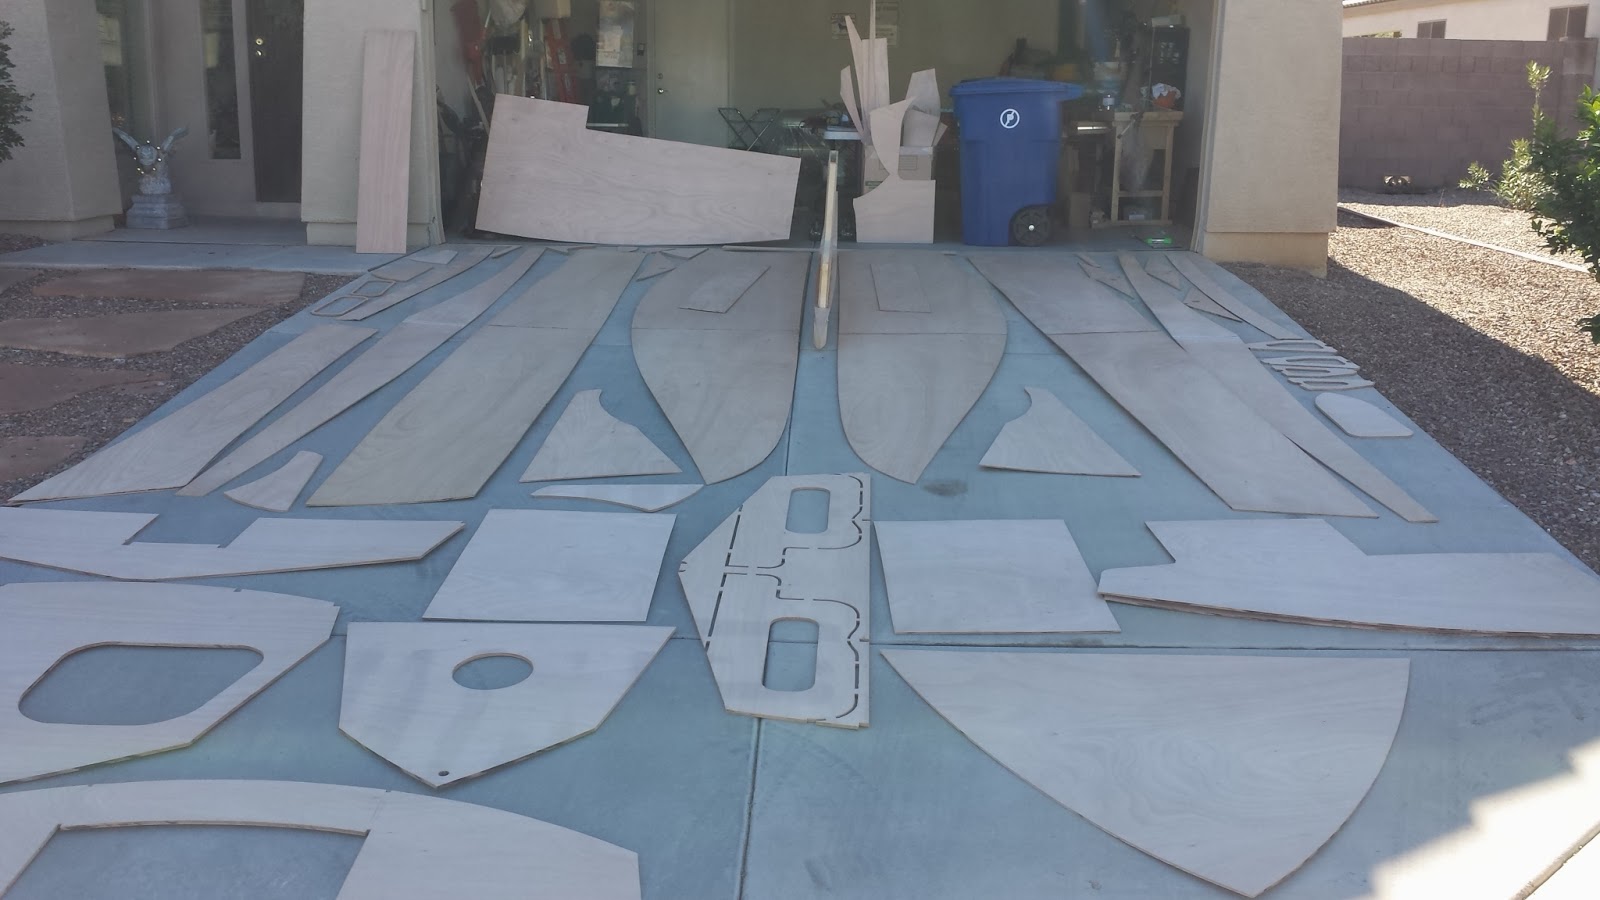
| Got wood? 15 sheets of marine grade plywood finally here. White piece on top will be the transom. |
12/14: Delivered but a couple pcs have splits (not real bad) and blemishes that look like either mold or rot. I hope not.
12/13: appt made to drop off tomorrow 2-6pm. We'll see.
12/7: Noah's finally sent out another batch of plywood. Tracking info says: 12/13.
12/1: Lost plywood ordered finally found in Pennsylvania and sent back here. When it arrived, it was pretty dinged up. I could’ve cut off the edges and worked with it but I paid a lot of money for quality stuff and this wasn’t quality. So I sent it back and told Noah ‘s to pack it right this time (love my attitude).
11/23: Ordered f/glass from Noah's ($295) and epoxy (as I go) from West Marine (here in Tempe). More expensive, but I need to get this project started. Time is valuable to me and I WILL pay for it (isn't that one of the 7 deadly sins? I hope not). That little comment inspired me to look that up which, in turn, lead me to the Seven Heavenly Virtues and my possible boat name: Valour (pursuit of knowledge). Pretty cool but I have long list of name ideas. More on that later.
11/20: Called again to FUP. Told me to call Noah's. Noah's said they'll look into it and get another shipment out to me right away. Great attitude! We'll see. Also bought first lot (1 of 10) of epoxy today…ouch! $150 for 1-gal of resin and 1-qt of hardener.
Ordered fiberglass from Noah's and tape from CLC.
11/19: Called UPS. "wtf Chuck?" They have no idea.
11/17: After waiting 5 hours, UPS Freight never showed up!
11/16: Plywood due in. Damn that was fast (N.E. coast to Az)!
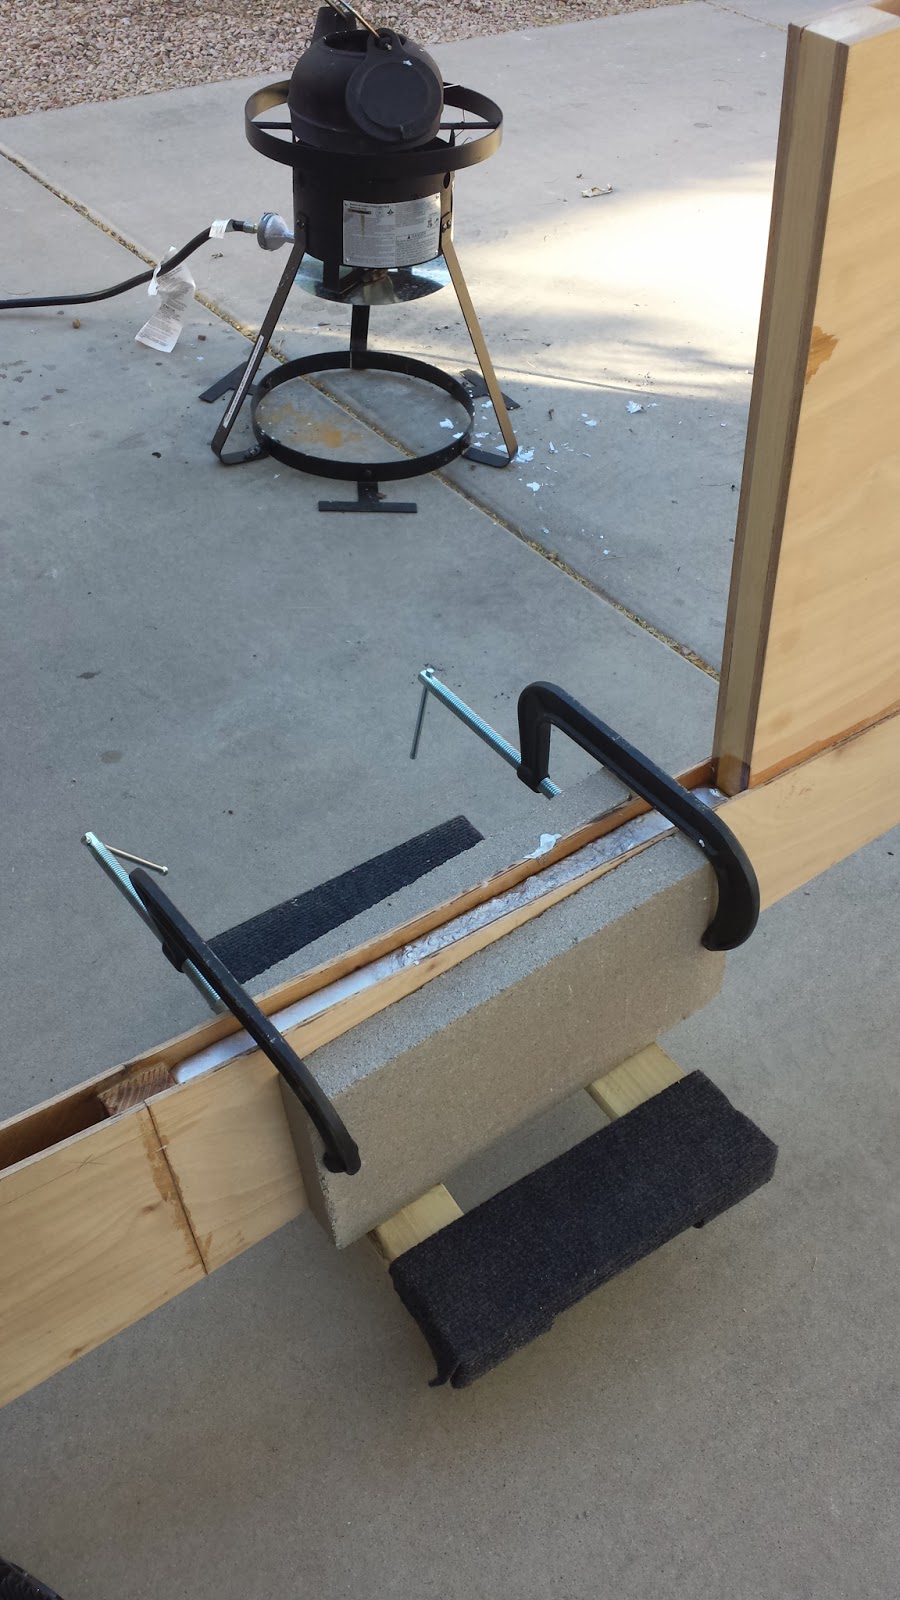
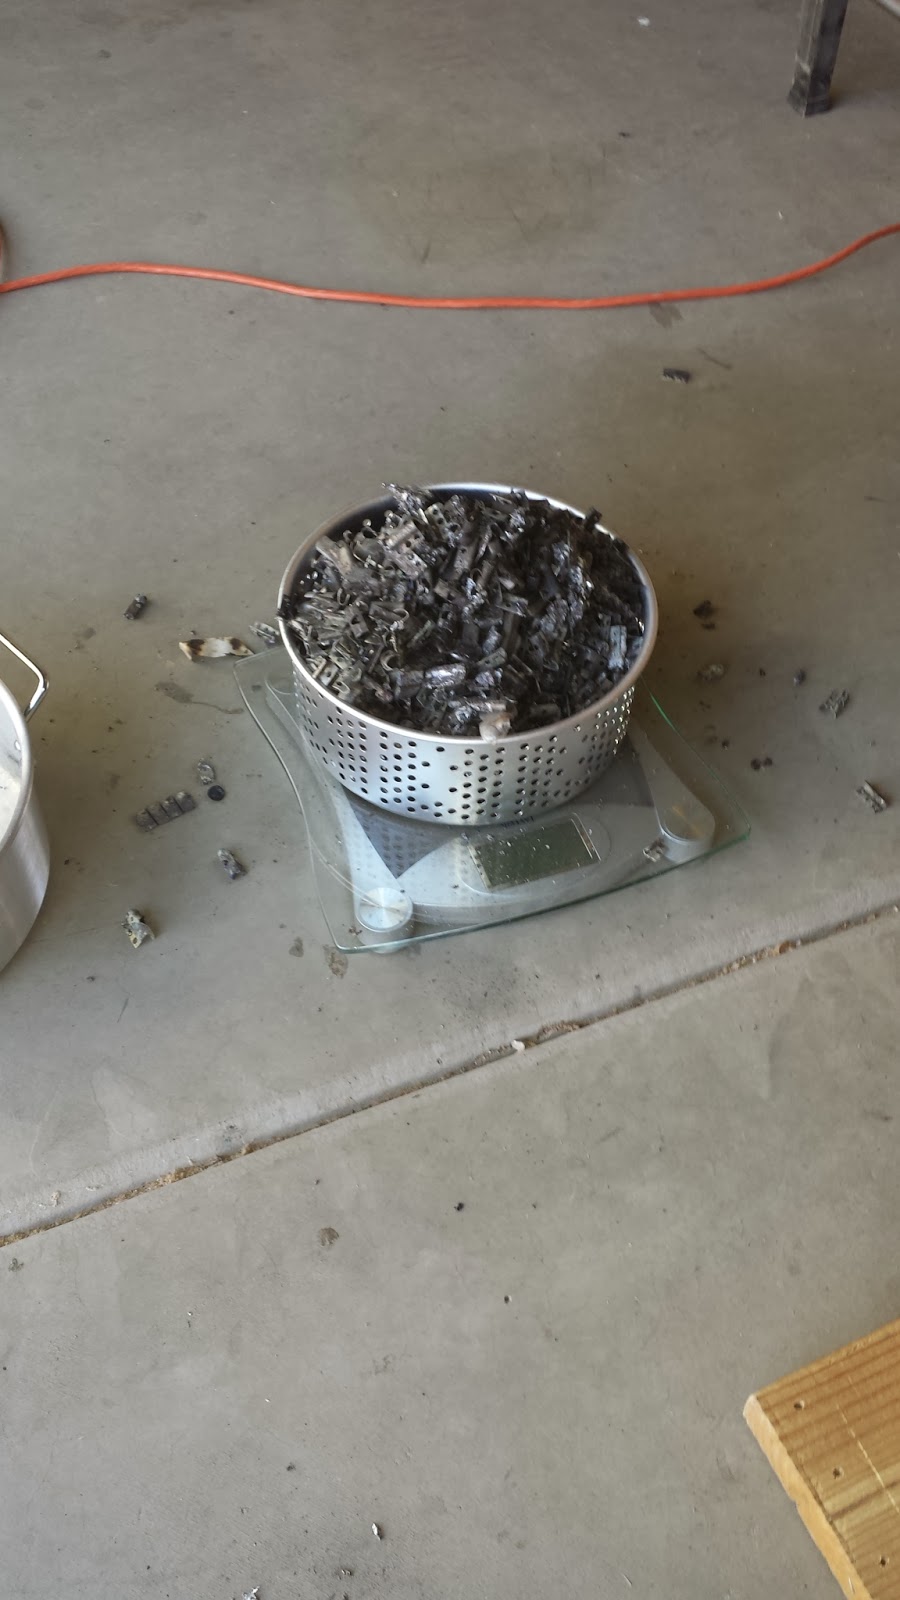
11/13: Found some free lead (for smelting into the keel) at Mexican tire store (no politics there). Will use lead-shot for hull ballast now.
11/11: Bought lead shot for keel & dagger board. On sale at Cabela's, $40.50/25-lb bag, pretty good. Too much government control at Corp tire stores.
11/6: Marine-grade plywood is impossible to find unless you look in the upper northwest or east coast. So I found the best price and reputation just north of Niagra Falls and ordered plywood from Noah's. $1k cheaper than CLC.
10/25: Received plans and patterns. Called Kinkos for a copy quote. I'd like to keep my masters prestine. Found out it's cheaper to buy another set if needed. Also, cleaned out garage and converted to “Ye Ol' Boat Yard”.
10/19: Ordered plans. Asked ACE for plywood quote. They used to carry marine grade, not any more. Wo is me.
10/16: Ordered instruction manual. Read cover to cover and looks very do-able.
10/12: Decision to build the PocketShip was made. A compromise between the CH21 and SV - I think. Sacrifices will have to be made to get this done in a timely manner: like drastically reduced frivolous spending and virtually no leisure travelling (hard to do since I work for the airlines).
 |
| PocketShip |
 |
| PS Inside Cabin |
CLC POCKET SHIP (begin; read up)
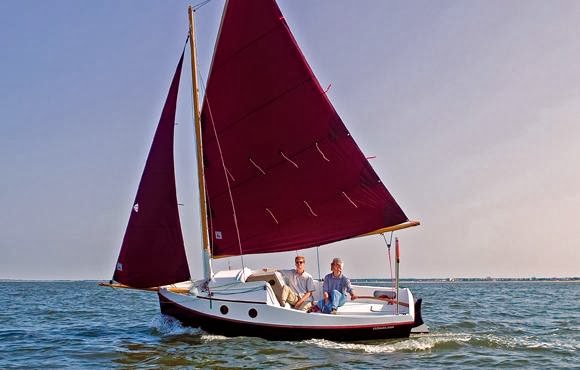
10/1: Decision to build the CH21 instead of SV was made. Costs, weight, are a little more, but a much nicer traditional boat.
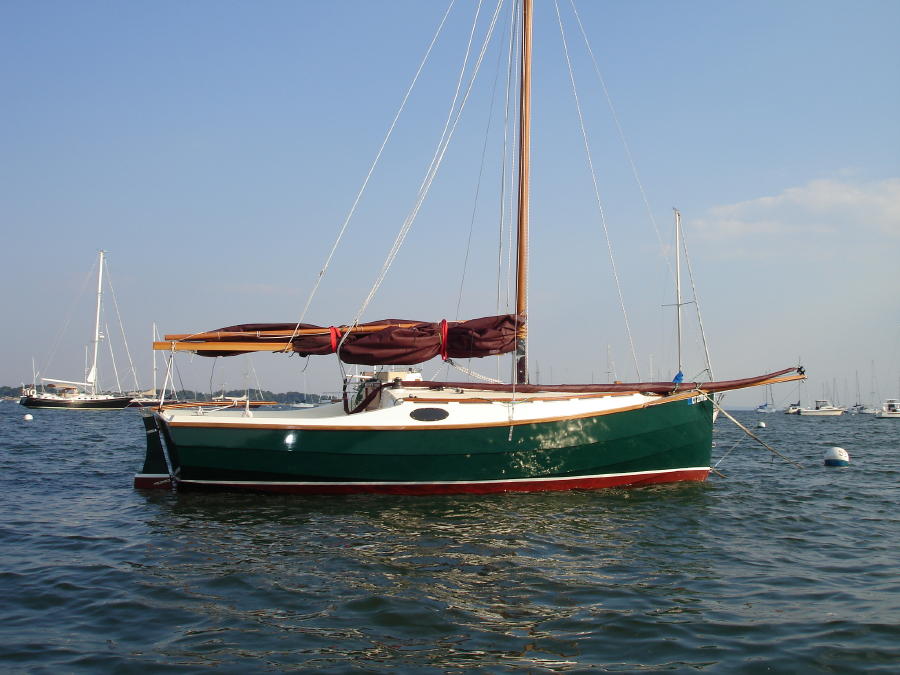 |
| CH-21 moored. |
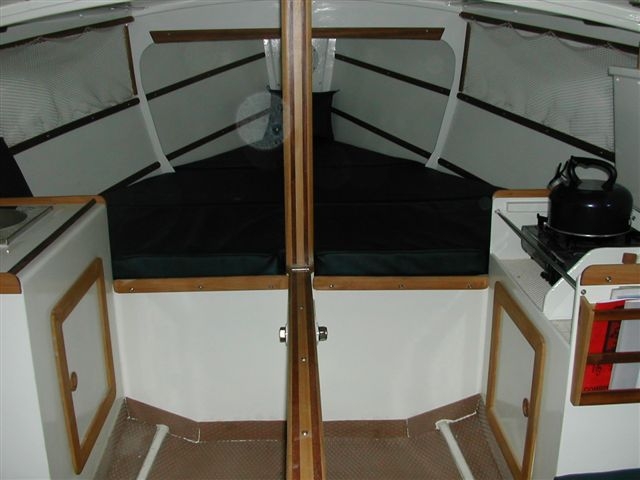 |
| CH-21 Inside |
CAPE HENRY 21 (begin; read up)9/26: Learned Ace has ACX plywood. HD (Home Depot) does not (they have BC).
9/25: Bought workbench, some tools, and garage organizing stuff.
9/14 Received plans.
9/6 Ordered plans/DVD.
9/5 Measure my half of garage: (10x22) Driveway: 8x24
 |
| Stevenson Vacationer |
STEVENSON VACATIONER (begin; read up)


